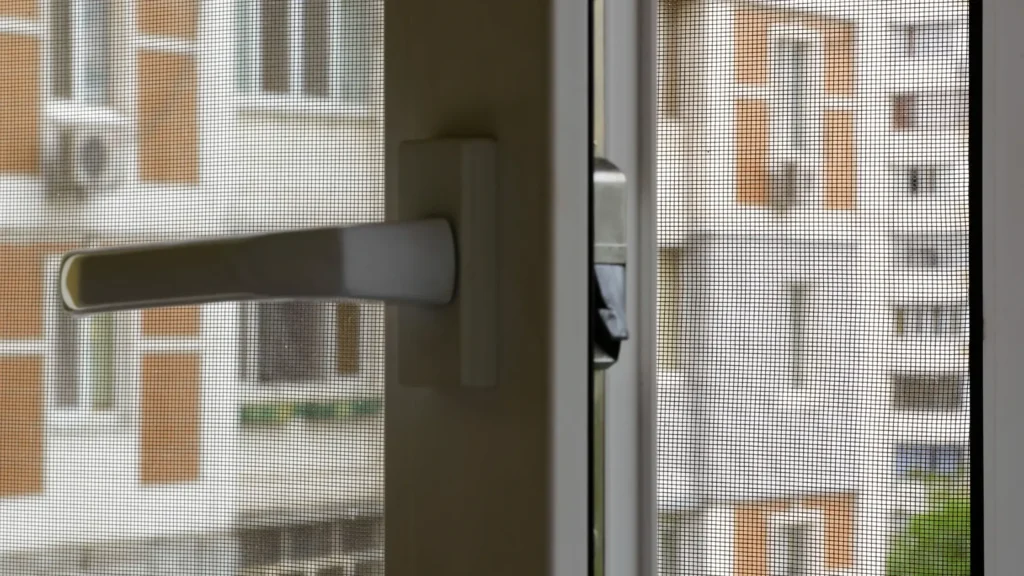
If your screen door has seen better days—torn, sagging, or just plain worn out—replacing the screening can breathe new life into your entryway. Not only does a fresh screen enhance the appearance of your door, but it also keeps pests out while allowing fresh air in. In this guide, we’ll walk you through the process of putting screening in a screen door, ensuring a smooth and successful DIY project.
Tools and Materials You’ll Need for Put Screening in a Screen Door
Before diving into the replacement process, gather the necessary tools and materials to ensure a seamless experience:
- Replacement screen mesh (fiberglass or aluminum)
- Spline (the rubber cord that holds the screen in place)
- Spline roller tool
- Flathead screwdriver or utility knife
- Scissors or utility knife for trimming
- Measuring tape
- Work gloves and safety glasses
Having these items on hand will make the process more efficient and help you achieve professional-looking results.
Step 1: Remove the Screen Door
To begin, you’ll need to remove the screen door from its track. This step allows for easier handling and a more precise installation:
- Open the door fully to access the screen door.
- Lift the screen door upward to disengage the bottom wheels from the track.
- Carefully angle the bottom of the door outwards and lower it to remove it completely.
Place the screen door on a flat, stable surface to proceed with the replacement.
Step 2: Remove the Old Screening
With the screen door laid flat, it’s time to remove the damaged or old screening:
- Locate the spline—the rubber cord that secures the screen in the frame.
- Use a flathead screwdriver or utility knife to pry out the spline from the groove.
- Once the spline is removed, take out the old screen mesh.
- Clean the frame thoroughly, removing any debris or dirt from the grooves.
Ensuring the frame is clean will help the new screen adhere properly and result in a smoother finish.
Step 3: Measure and Cut the New Screen Mesh
Accurate measurements are crucial for a snug fit:
- Lay the new screen mesh over the frame, ensuring it extends at least an inch beyond the frame on all sides.
- Use scissors or a utility knife to cut the mesh to size, maintaining the extra inch on each side.
This excess will be trimmed later, but it’s essential for securing the mesh during installation.
Step 4: Install the New Screen Mesh
Now, let’s secure the new mesh onto the frame:
- Starting at one corner, use the convex side of the spline roller to press the mesh into the groove.
- Place the spline over the mesh and use the concave side of the roller to press it firmly into the groove, securing the mesh.
- Continue this process around the entire frame, keeping the mesh taut to prevent wrinkles.
- Once the spline is fully installed, use a utility knife to trim the excess mesh along the outer edge of the spline.
Take your time during this step to ensure the mesh is evenly stretched and free of any creases.

Step 5: Reinstall the Screen Door
With the new mesh securely in place, it’s time to reinstall the screen door:
- Lift the screen door and insert the top wheels into the upper track.
- Align the bottom wheels with the lower track and gently lower the door into place.
- Slide the door back and forth to ensure smooth operation.
If the door doesn’t slide smoothly, check for any obstructions or misalignments and adjust as necessary.
Tips for Success
Here are some additional tips to help you achieve the best results:
- Choose the Right Mesh: Fiberglass mesh is flexible and easy to work with, while aluminum mesh is more durable but can be trickier to handle.
- Work on a Flat Surface: Laying the door flat ensures even tension on the mesh and prevents sagging.
- Keep the Mesh Taut: Maintaining tension on the mesh during installation prevents wrinkles and ensures a professional finish.
- Double-Check Measurements: Accurate measurements prevent waste and ensure a snug fit.
By following these tips, you’ll enhance the longevity and appearance of your new screen.
Trust Eclips Door Screening Service for Professional Results
If DIY isn’t your preference or you want a flawless finish, consider reaching out to Eclips Door Screening Service. Their team of experts specializes in screen door replacements, ensuring high-quality materials and precise installations. With Eclips, you can enjoy a refreshed entryway without the hassle.
Replacing the screening in your screen door is a manageable DIY project that can significantly enhance your home’s comfort and aesthetics. By following this step-by-step guide and using the right tools and materials, you’ll achieve professional results and enjoy a bug-free, breezy home in no time.

